DIY Glue Resist Tie Dye Napkins
Have you tried the trendy Glue Resist Tie Dye technique? Have you tried it with Beacon Felt Glue? Well, be prepared to be AMAZED because the results of this technique are incredible. Resist-dyeing, is a technique where a pattern is marked onto a fabric with a substance such as glue (our fav). After dyeing and removing the resist substance, in this case glue, the pattern is revealed on the original fabric color. Kinda cool, right?
For this DIY, we partnered with content creator, Caroline Bell, and dye company, Rit Dye, to show you all how to use this technique to upgrade your fabric napkins. Caroline used Beacon Felt Glue for this project. Beacon Felt Glue is GREAT for this technique, because it is water-based, so it’ll be removed in the wash. Follow along below to learn how to modernize your napkins and enhance your tablescape. The holidays are coming up… so what better time to learn a new technique?!
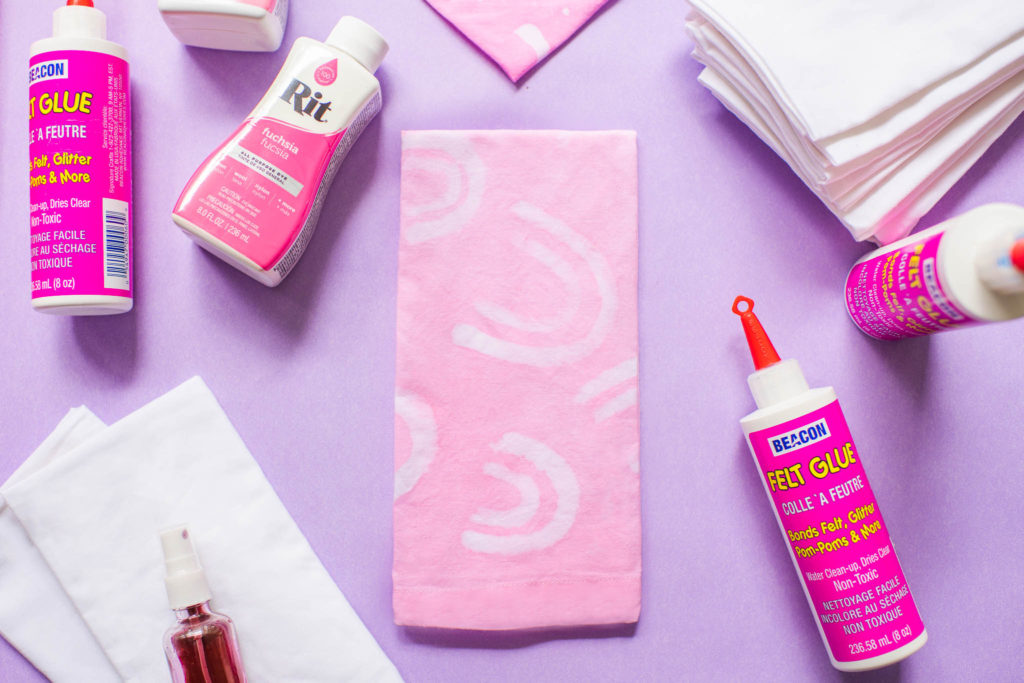
Supplies:
Beacon Adhesives Felt Glue
Rit Dye All-Purpose Dye (Petal Pink & Fuchsia used for this project)
20 x 20 inch 100% Cotton White Dinner Napkins
Spray Bottles
Rubber Gloves
Small Detail Paint Brush (Optional)
Instructions:
Step 1: Take a dry, pre-washed 20 x 20 100% cotton napkin and lay on a flat surface.
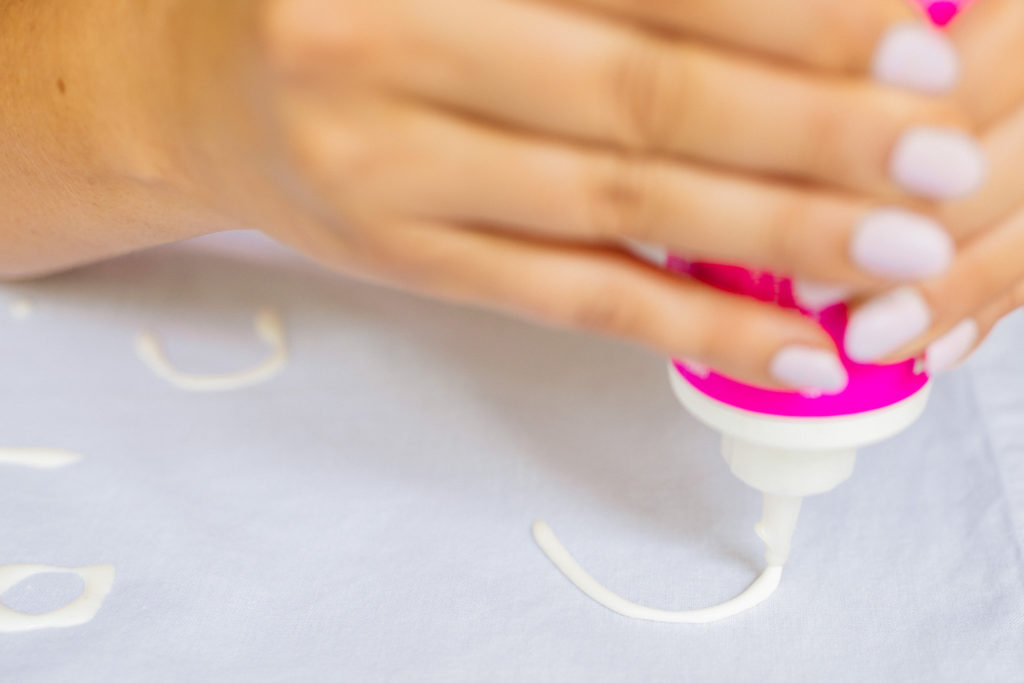
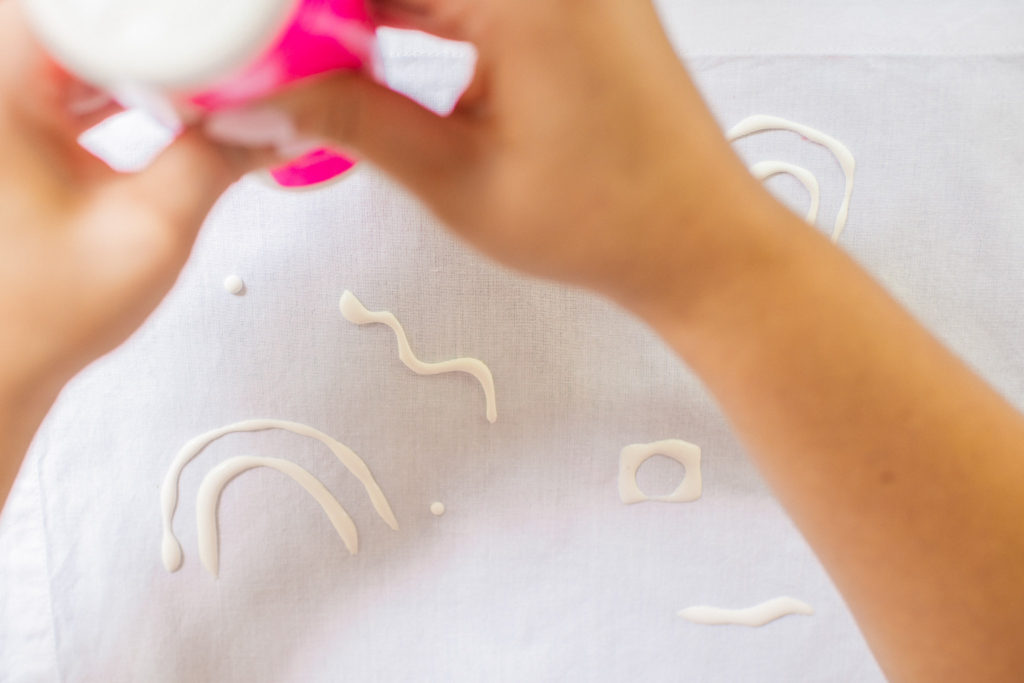
Step 2: Draw designs or shapes on the napkin with Beacon Felt Glue.

Step 3: Keep your napkin laying flat and let the glue dry for 12+ hours.
Step 4: Pour Rit Dye into a spray bottle.
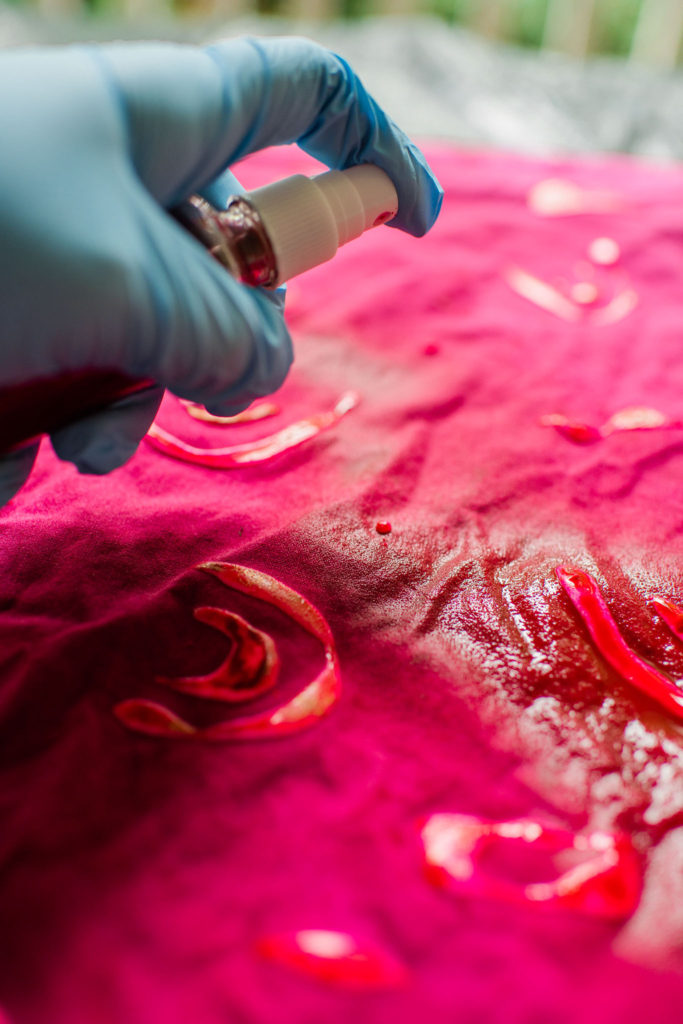
Step 5: Once the glue shapes are completely dry, spray on one layer of dye and let it dry for 12+ hours.
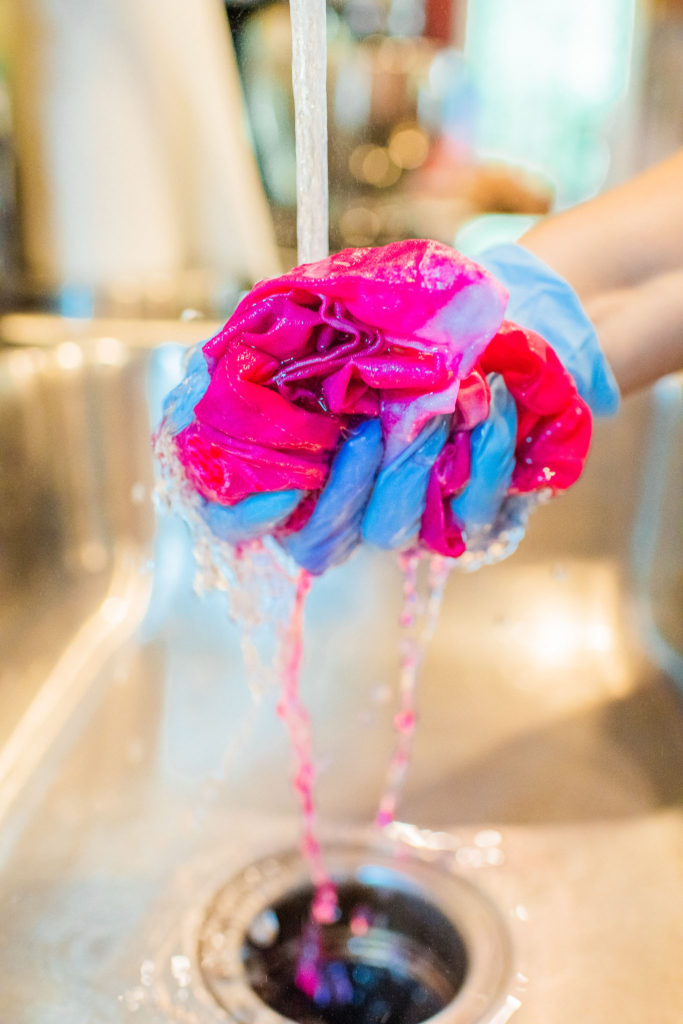
Step 6: Rinse out the napkin in a sink until the water runs clear and rub off the layer of glue.
Step 7: Put the napkin in a washer on gentle, cold cycle.
Step 8: Air dry and iron or steam to remove any remaining wrinkles.
Craft Hack Tips & Tricks:
- Approximately 2 oz of dye was used for each napkin.
- Remove wrinkles from napkin prior to applying glue.
- For a broad brush stroke finish, dip a fine detail paint brunch into Beacon Felt Glue and paint your design onto the fabric.
- Wear plastic gloves when handling the dye.
- The thicker the glue is applied, the more there will be to rub off while rinsing out dye. Use hands or shaper object if necessary (Caroline used a spoon to remove thick pieces of glue).
- Protect your surface when dying with a trash bag or disposable item.
- To achieve a darker shade, spray on additional layers of dye.
NOTE: Felt Glue is a non-toxic, water-based glue. There is no unpleasant odor and it goes on white and dries clear.
Follow Beacon Adhesives on Instagram HERE and follow Rit Dye on Instagram HERE.
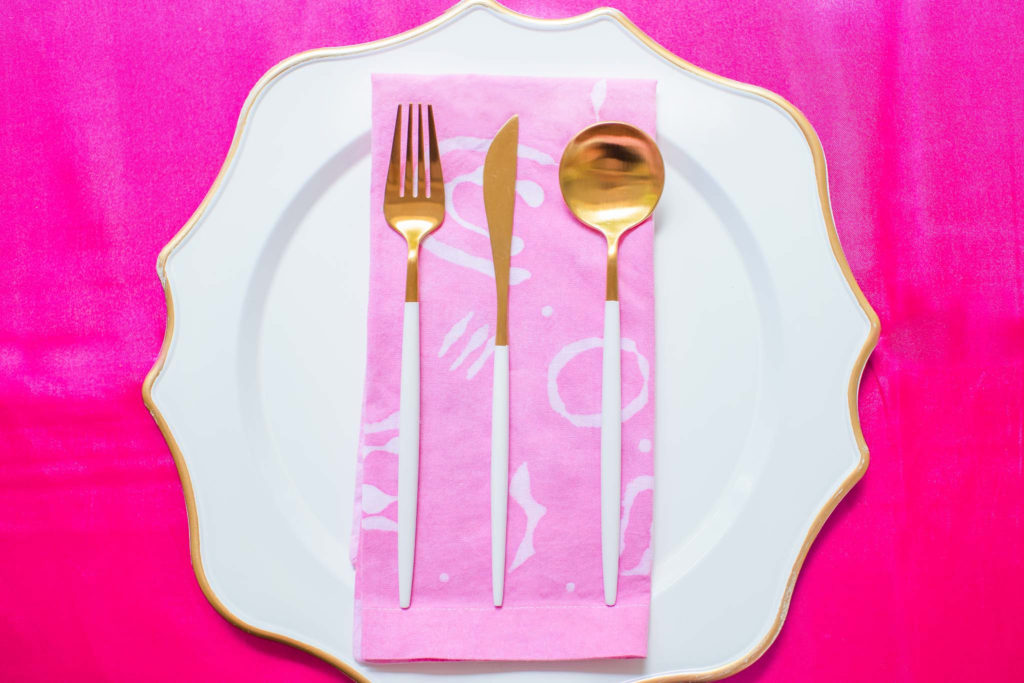
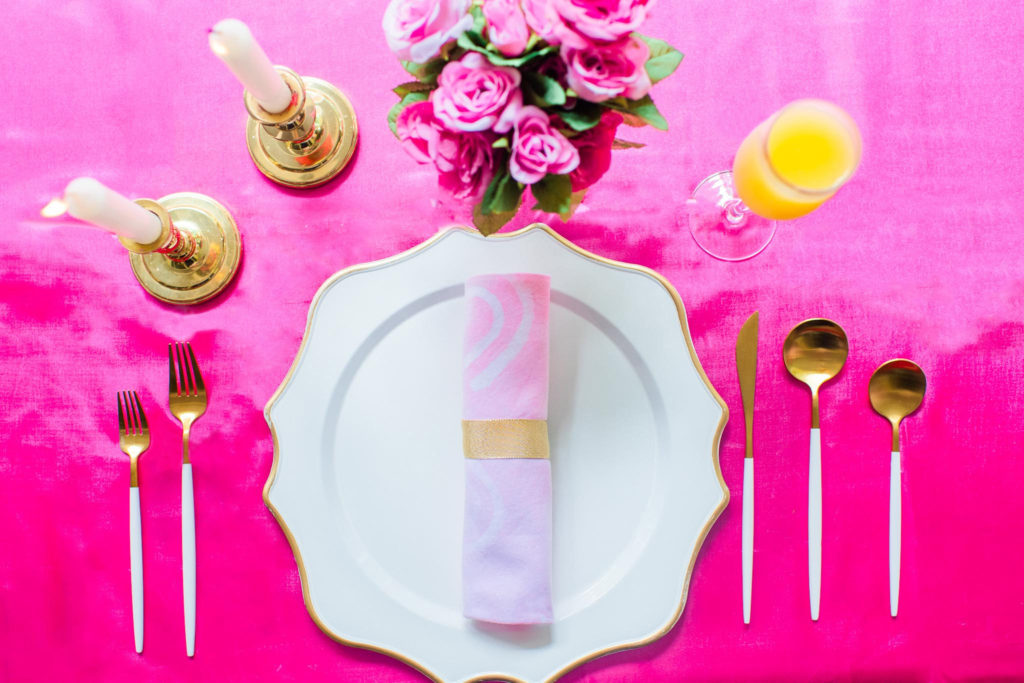
We’re obsessed with this final look and we hope you are too. So, show us what designs and colors you’d use with this technique and be sure to tag us on social!
Get 20% off ALL craft glues using code NAPKIN20 at checkout. Offer valid until October 16th at 11:59 PM EST. Exclusions apply.
Follow us on social media:
Instagram | Facebook | YouTube | Pinterest
This DIY was designed and styled by Caroline Bell Creative and photographed by Kristina Keech.