3D Animal Canvas Wall Art
If you have any extra plastic toy animals laying around and don’t know what to do with them, then you’ve come to the right place. This DIY will for sure have you raiding the toy bin! In this blog post, we’ll take you through the steps of how to turn plastic toy animals into modern, trendy wall decor using Beacon Power-Tac. Who would’ve thought right?
We also love the idea of repurposing, so when your child grows out of their toys, this is a great way to use them in a way that is more sophisticated, while still preserving a childhood memory. This canvas art is such a fun and easy idea, and can be done in 5 simple steps! Let’s get started…
Supplies:
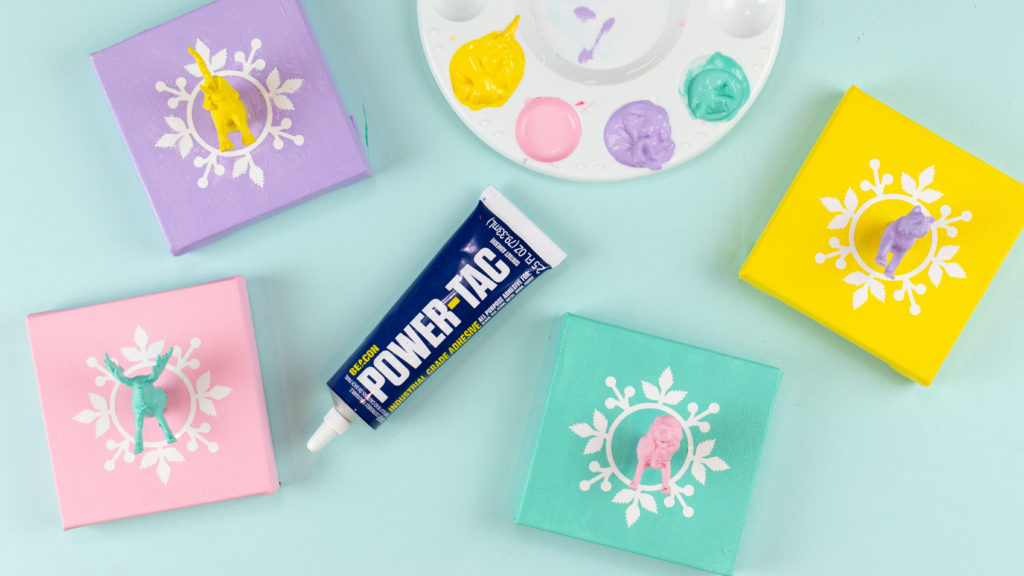
Beacon Adhesives Power-Tac
Plastic Animals
Acrylic Paint
Brushes
Mini Canvas
Vinyl
Instructions:
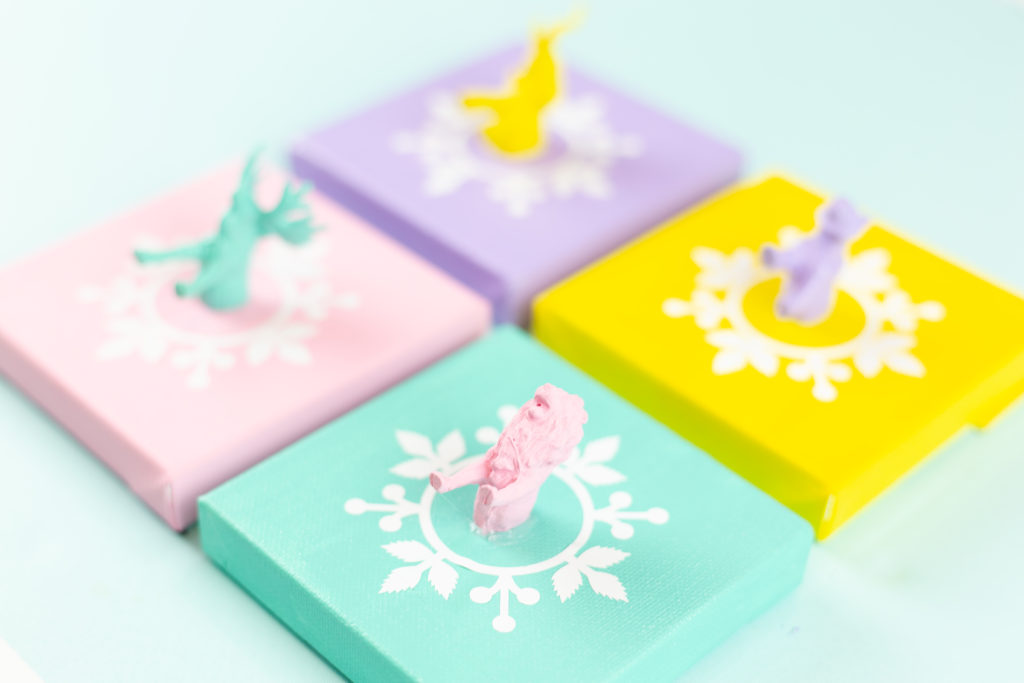
Step 1: Cut your plastic animals in half with a sharp knife.
Step 2: Paint the animal heads with acrylic paint and let dry.
Step 3: Paint each mini canvas with a different color acrylic paint.
Step 4: Let the canvas dry and add optional vinyl stickers to each canvas.
Step 5: Glue the animal heads to the canvas’s with Beacon Power-Tac.
Note: Unlike other glues, Power-Tac does not contain PERC, which is known as a carcinogen.
Hang and enjoy your 3D Animal Canvas! Even if you don’t have any plastic toy animals laying around, you can grab some from the Dollar Store if you still want to try this DIY. We hope you will try out our own version of this DIY. What animals would you use and what colors would you paint them? Let us know!
Get 20% off Power-Tac using code ANIMAL20 at checkout. Offer valid until August 31st at 11:59 PM EST. Exclusions apply.
Follow us on social media:
Instagram | Facebook | YouTube | Pinterest
This DIY was designed and handmade by Craft Box Girls.