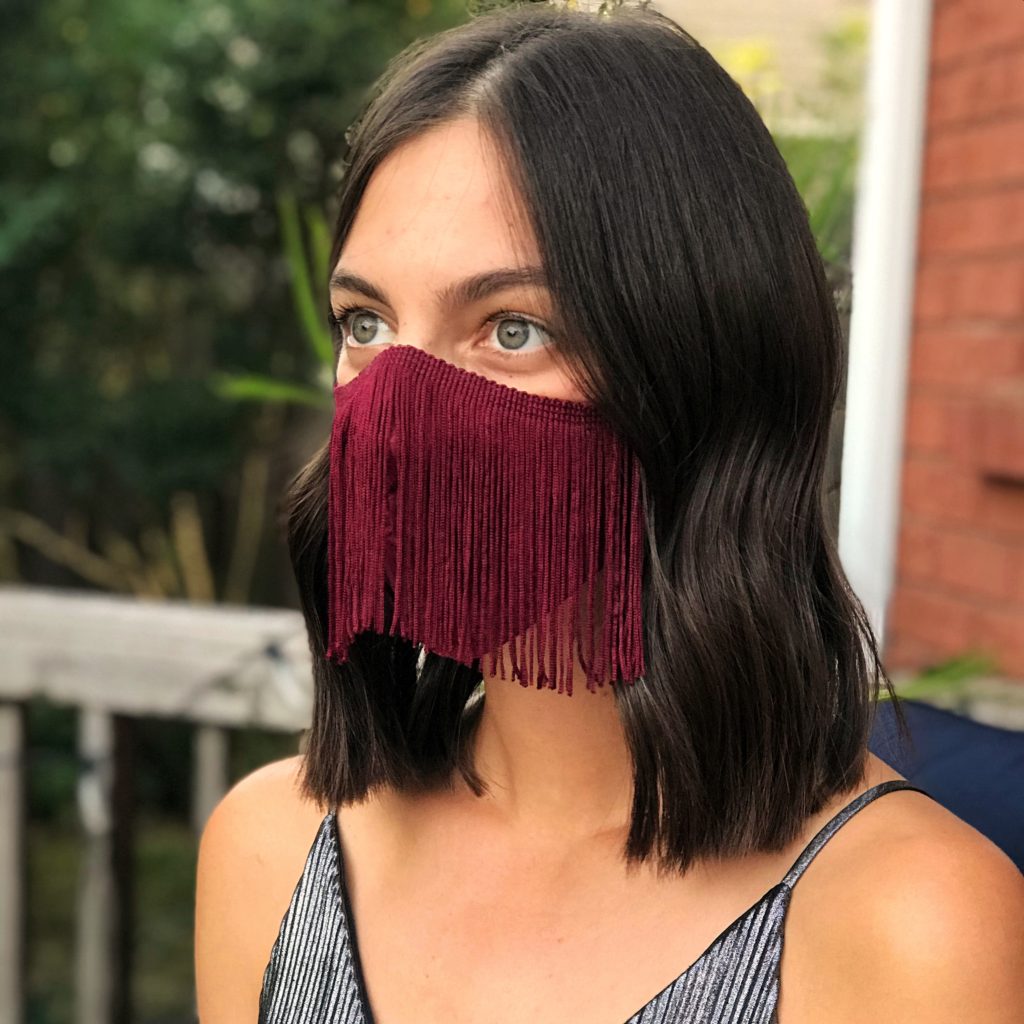
DIY Fringe No-Sew Face Mask
Wearing face masks is still extremely important and wearing them isn’t going away anytime soon, so if you have the time, why not create a mask that is as stylish as it is effective? And, making an embellished or somewhat fashionable face mask can be fun and can let out your creative side.
So… we are here to show you how to make a DIY Fringe Face Mask that requires NO sewing skills whatsoever. What makes this mask possible is Beacon Fabri-Tac™. Fabri-Tac™ is a premium quality adhesive and has been a favorite among professional designers for decades. This adhesive won’t soak into fabrics and is much easier to use than a glue gun as there is no heat or inconvenience. So, grab your keys, grab your wallet and don’t forget your face mask! Let’s dive in.
Important note: These masks are NOT hospital compliant. They are for your own personal use. A DIY face mask is not a replacement for a surgical mask but should be used for your own protection if you must go out in public. As more information about the COVID-19 pandemic develops, some information in this post may have changed, so please check your local news for the most up to date information.
Supplies:
Beacon Adhesives Fabri-Tac™
Cotton Fabric
Fringe
Scissors
Pins
Mask Pattern
Elastic
Instructions:
Step 1: Secure your mask pattern to the cotton fabric using pins.
Step 2: Cut out the fabric following the pattern. Repeat to cut out 4 matching pieces of fabric.
Step 3: Glue the “right sides” of 2 fabric pieces together down the curved line using Fabri-Tac™. The “right sides” refers to the side of your fabric that you’d like to be facing outwards for the final product. Repeat with the remaining 2 fabric pieces.
Step 4: Let the Fabri-Tac™ dry. At this stage, you can press the seam down with an iron to ensure the line down the center of the mask is straight.
Step 5: Open up the glued fabric pieces. Now glue the “right sides” of both fabric pieces together along the top and bottom.
Step 6: Insert an elastic (5″ – 6″ long depending on your mask size) in one edge of the mask. Glue both ends of the elastic along the edge line close to the corners, ensuring you leave a space in the center. (This space will allow you to turn the mask inside-out once the glue has dried.) Repeat on the other side.
Step 7: Let the Fabri-Tac™ dry.
Step 8: Turn your mask inside out by pulling it through the holes between the elastics. At this stage, you can press the seams down with an iron to define the edges.
Step 9: Close the open edges on either side of the mask (near the elastics) with Fabri-Tac™.
Step 10: Measure along the top of the mask and cut a piece of fringe the same length.
Step 11: Using Fabri-Tac™, attached the fringe along the top of the mask.
Step 12: Let dry for 24 hours.
Step 13: Rock your fringe face mask!
Note: Fabri-Tac™ is no longer toxic after you wait 24 hours for it to completely dry. We recommend you wait for the glue to completely dry before wearing your mask. It is also recommended that you wash your fabric before starting to make your mask.
We hope you enjoyed this tutorial! If you make your own, be sure to tag us on social media. We love seeing what you all DIY. Stay safe and healthy!
Get 20% off Fabri-Tac™ using code FRINGE20 at checkout. Offer valid until October 30th at 11:59 PM EST. Exclusions apply.
Check out our other blog posts:
No-Sew Face Masks
No-Sew Face Masks FAQs
Follow us on social media:
Instagram | Facebook | YouTube | Pinterest
This DIY was designed and handmade by The Craft Aisle.